We have all seen the little orange oil light on the dash at some point, and we understand that some of you are great mechanics or DIY mechanics. However...for the few that are not, let's lay it out step by step for you!
Step 1: Jack up that Car
In order to get around to changing your oil, you are going to need to get your vehicle high enough in the air. You can use a ramp, hoist or jack stands but ensure that you are safe before getting under the car. Most, if not all, cars or trucks are fitted with a plastic undertray which can be found directly underneath the engine. To get to the oil pan and oil filter, you will need to remove the cover; most undertrays are held on with bolts, screws, or plastic clips which can be easily unfastened with basic hand tools. Next, you will need to be sure to examine the area for oil leaks. If any are found, consider having the vehicle inspected by a mechanic.
Step 2: Unplug n' Drain
This step is fairly easy. Make sure you have a five-gallon bucket, oil pan or any type of container that can hold a fair amount of liquid situated underneath your vehicle to ensure you are capturing all the oil you are about to release. Next up is removing the drain plug but turning it counterclockwise with a wrench. MAKE SURE YOU HOLD ONTO THE DRAIN PLUG!! We cannot stress that enough unless you want to be covered in oil! As you slowly remove the plug the oil will start to pour out...hopefully into your bucket! This will take around 5 minutes.
Step 3: Out with the Old & in with the New Oil Filter
With the oil now out of the vehicle, you are going to want to find the oil filter. It is cylindrical and about the size of a baseball. Once you have located you are going to need to loosen it by turning it counterclockwise with your hand or an oil filter wrench. Oil will slowly start to seep out the down and down its side, wait until the flow stops and finish removing the filter completely.
Before you start installing the new filter ensure that the old filter's o-ring (thin rubber band) was not left behind and have a quick wipe down of any oil-covered surfaces. Making sure the o-ring is not left behind is an important step because if it was left behind the new filter won't seal properly thus ending up with all your new oil all over the ground and potentially starving your engine of oil!
Step 4: Fill'er Up with Oil
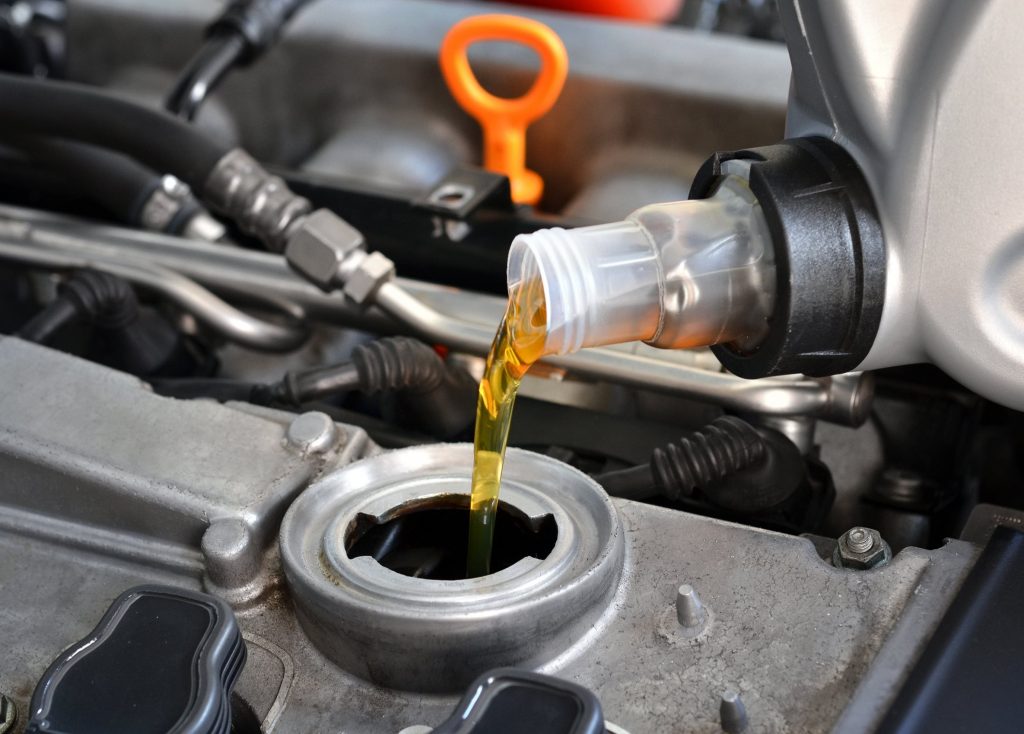
After replacing the oil filter and draining your old oil, reinstall your undertray and lower your vehicle back on the ground. Pop the hood and remove the oil cap (it should have an oil-can symbol on it). Using a funnel, fill the engine back up with the correct volume of oil. This can be found in the owner's manual.
Step 5: Check the Dip
Last but certainly not least, after a few minutes of letting the oil sit, use the dipstick to verify that your oil is at the proper level. You can do this by simply pulling the dipstick from its tube, wiping off all the oil with a paper towel or rag, re-inserting the dipstick, removing the dipstick again and confirming that the oil is lined up to the full line.
Step 6: Congratulations you are now a Mechanic
By following our step-by-step guide you can now consider yourself a mechanic, kidding. But you should feel pretty accomplished so pat yourself on your back for a job well done! You saved yourself money and learnt a new skill!

Sources:
Car and Driver
Pink Slip Today


